Imagine building a complex web app without spending weeks or months on it. I just did exactly that with ImageTools.pro, an online image processing app that I built in only 5 days with the help of AI and modern web technologies.
This project came out of what is now commonly called “vibe coding” - a software development approach popularized by Andrej Karpathy in early 2025. According to Wikipedia, vibe coding is a method where developers describe the problem in a few sentences as a prompt to a large language model (LLM), then guide and refine the generated code.
Let me walk you through how I used that approach to build ImageTools.pro in such a short time.
UPDATEAugust 2025SOLD
ImageTools.pro has been sold on Flippa
I sold this project on Flippa for USD $350.
Planning with AI
The first thing I did was use Claude 3.7 Sonnet to build a complete roadmap and task list for the project. I explained my vision for a browser-based image processing app, and the AI helped me:
- Choose the best technology stack for the project
- Recommend specific libraries such as Sharp.js for image processing
- Define the minimum viable product (MVP) feature set
- Organize the implementation steps in a logical order
I then passed that roadmap and task list to Cursor, the AI-powered editor, so it could learn the context before I started building.
Choosing the Stack
Based on the AI recommendations and my own experience, I chose this stack:
Next.js 15.2.4 - The latest version with App Router, great server components support, file-based routing, and built-in image optimization.
React 19 - The core UI library for interactive interfaces.
TypeScript - For better type safety and developer experience.
Shadcn UI - A highly customizable component system built on top of Radix UI.
Tailwind CSS - A utility-first CSS framework that keeps styling fast and flexible.
Framer Motion - For smooth and polished motion across the interface.
For image processing, I used a hybrid set of libraries:
Browser-based processing (primary):
browser-image-compression (v2.0.2) - for image compression in the browserimage-conversion (v2.1.1) - for basic format conversionjimp (v1.6.0) - a pure JavaScript image manipulation libraryreact-image-crop and react-easy-crop - for intuitive cropping UI- Browser Canvas API - for basic rotate/flip operations
Server-side processing (optional / limited):
sharp (v0.34.0) - a Node.js image processing library for more advanced operationsbmp-js - for BMP handlingjspdf - for PDF conversionto-ico - for favicon generation
I also used several utility libraries:
- Zustand for simple and effective state management
- Lodash for utility functions
- React Dropzone for a user-friendly file upload experience
- Lucide React for consistent and modern icons
Development Flow: Working with Vibe Coding
Unlike a traditional linear workflow, ImageTools.pro evolved in a more fluid way - that is the essence of vibe coding. My background in HTML and CSS helped a lot in understanding and guiding the code AI generated.
Instead of moving through rigid phases, I jumped between different parts of the build depending on what was needed at the time. Here are the main highlights:
Scaffolding and Base Structure
I started by asking Cursor + Claude 3.7 to create the Next.js project structure with Tailwind CSS and Shadcn UI. The experience was surprisingly smooth - I simply described what I wanted, and the AI generated the boilerplate quickly.
// app/page.tsx - Simple landing page
import Hero from '@/components/landing/Hero'
import FeaturedTools from '@/components/landing/FeaturedTools'
import HowItWorks from '@/components/landing/HowItWorks'
import Features from '@/components/landing/Features'

export default function Home() {
  return (
    <main>
      <Hero />
      <FeaturedTools />
      <HowItWorks />
      <Features />
    </main>
  )
}
Implementing Image Processing
The hardest part was building efficient image processing. After researching the options, I decided on a hybrid approach that prioritizes the browser.
-
Client-side processing - This became the main path. For most operations, I used the Browser Canvas API together with JavaScript libraries such as browser-image-compression, image-conversion, and jimp. That lets users process images directly in the browser without uploading files to the server.
Example resize implementation with Canvas API:
function resizeImage(file, maxWidth, maxHeight) {
  return new Promise((resolve) => {
    const img = new Image();
    img.onload = () => {
      let width = img.width;
      let height = img.height;

      if (width > maxWidth) {
        height = (maxWidth / width) * height;
        width = maxWidth;
      }

      if (height > maxHeight) {
        width = (maxHeight / height) * width;
        height = maxHeight;
      }

      const canvas = document.createElement('canvas');
      canvas.width = width;
      canvas.height = height;

      const ctx = canvas.getContext('2d');
      ctx.drawImage(img, 0, 0, width, height);

      canvas.toBlob((blob) => {
        resolve(blob);
      }, file.type);
    };

    img.src = URL.createObjectURL(file);
  });
}
-
Server-side processing fallback - For more complex operations or formats that are not efficient in the browser, such as AVIF or TIFF conversion, I used serverless APIs with Sharp.js. The important part was making sure user files were handled securely and not stored after processing.
I kept server-side processing to a minimum and only used it when necessary, just like the message on my About page states:
"All conversions happen directly in your browser. Your files never leave your device."
This browser-first hybrid approach gave me flexibility while keeping user privacy as a top priority.
Claude and Gemini were both extremely helpful when I integrated different libraries and tuned browser performance. For example, I debated whether to use browser-image-compression or a manual Canvas implementation for compression, and AI helped me compare the pros and cons.
User Interface and UX
Building the UI with Shadcn UI and Tailwind CSS went very smoothly. To make the experience more engaging, I added Framer Motion animations and made sure the interface felt responsive everywhere.
I also used Zustand for lightweight state management, which let me handle app state without extra boilerplate. That was especially useful for keeping user settings when switching between tools.
// Store for processing status and user settings
const useImageStore = create((set) => ({
  originalImage: null,
  processedImage: null,
  processingStatus: 'idle', // 'idle' | 'processing' | 'done' | 'error'
  settings: {
    quality: 80,
    format: 'webp',
    resize: { width: 800, height: 600, maintain: true },
  },
  setOriginalImage: (file) => set({ originalImage: file }),
  setProcessedImage: (result) => set({ processedImage: result }),
  setProcessingStatus: (status) => set({ processingStatus: status }),
  updateSettings: (newSettings) => set((state) => ({
    settings: { ...state.settings, ...newSettings }
  })),
  resetStore: () => set({
    originalImage: null,
    processedImage: null,
    processingStatus: 'idle',
  }),
}));
Testing and Deployment
In the final phase, I focused on:
- Testing across browsers and devices
- Performance and accessibility optimization
- Cookie-free analytics setup
- Deployment to Vercel
The deployment process on Vercel was very smooth. Connecting the GitHub repository and shipping the first production build only took a few clicks.
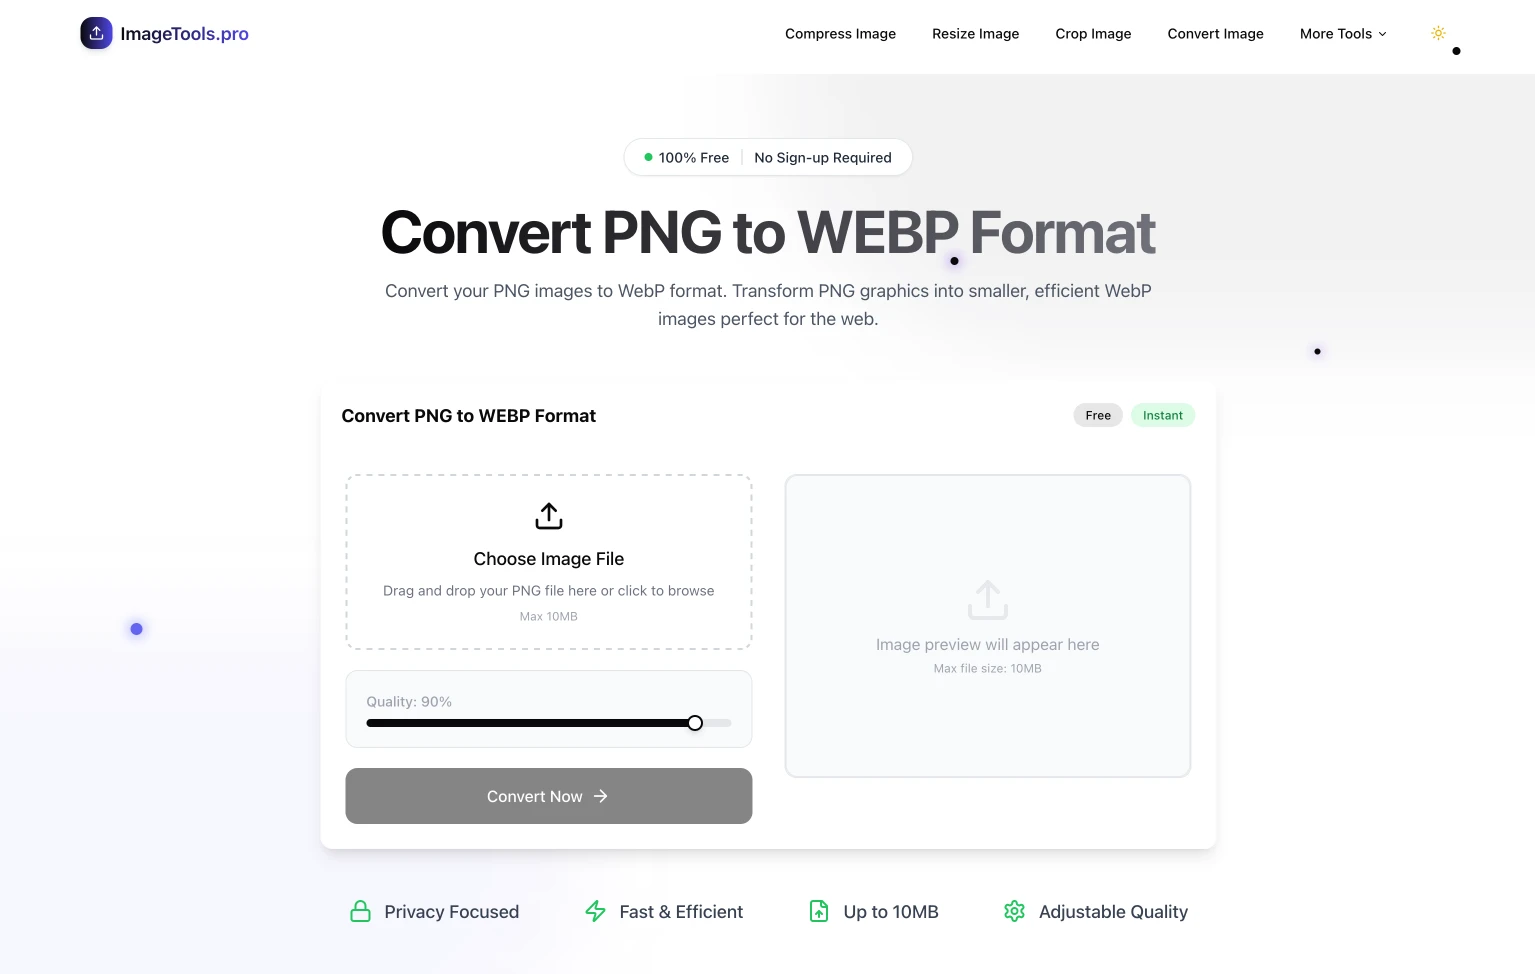
One thing I am especially proud of is the full collection of more than 35 image tools I built. They are organized into easy-to-browse categories:
I implemented support for converting between all popular formats:
- PNG to JPG, WebP, AVIF, PDF, BMP, TIFF
- JPG to PNG, WebP, AVIF, PDF, BMP, TIFF
- WebP to PNG, JPG, AVIF, PDF, BMP, TIFF
- AVIF to PNG, JPG, WebP, TIFF
- TIFF to PNG, JPG, WebP, AVIF
- BMP to PNG, JPG, WebP, AVIF, PDF
2. Image Compression
Tools I created to reduce file size across formats:
- Compress Any Image
- Compress PNG
- Compress JPG
- Compress WebP
3. Resize and Cropping
Tools for changing image dimensions:
- Resize Any Image
- Resize PNG, JPG, WebP
- Crop Image
Special-purpose tools I added:
- Rotate & Flip Image
- Image Adjustments
- Add Watermark
- Image Compositor
- Favicon Maker
- Image Placeholder Maker
- Image to Base64 / Base64 to Image
Implementing all of these tools was a challenge, especially because several required fairly complex processing logic. But with vibe coding, I was able to finish most of the functionality quickly. It honestly felt like having a developer assistant working with me nonstop.
After launch, ImageTools.pro delivered results that made me genuinely happy:
- Near-perfect PageSpeed scores (95+ on mobile and 100 on desktop)
- Fast image processing time, averaging under 2 seconds for a 1 MB image
- Positive user feedback about the UI and speed
More importantly, it became a real proof that AI-assisted development works. What would normally take weeks, I finished in 5 days.
Vibe Coding: A Software Development Shift
ImageTools.pro is a real example of what vibe coding can do. The term was popularized by Andrej Karpathy in February 2025. According to a Medium article by Madhukar Kumar, vibe coding has become a meaningful trend in software development, with many tools emerging to support the workflow.
This approach offers a few major advantages:
- Faster execution without giving up quality
- AI as a copilot, not just a tool
- A strong focus on user experience from the start
- Iteration and experimentation without fear of failure
With AI, I was able to move from idea to working product much faster than before. That opens new doors for experimentation and innovation that used to be limited by time and resources.
Want to build a custom web app for your business? See our Web App Development service or contact us for a free consultation.